 |
| Unique applique onesie! |
Since I have been showing quite a few of these appliqued onesies on the
blog lately I wanted to put together a tutorial on how I make them.
They are super easy to make and always well received by mom!
Step one is to get your onesies. I sometimes buy packs of plain white
onesies from WalMart (prefer Carters brand) but I really like to hit up
Goodwill, too. Their baby clothes are always 99 cents a piece and it's
easy to find ones in good repair. I think since babies usually have
sooo many clothes, and grow so fast, they end up outgrowing their
clothes before they can do much damage to them, making them ideal to buy
second hand!
 |
| Plain onesie in good repair from Goodwill |
You need to decide on a design that you like. In this case, I wanted
something that would go with the colors on the onesie (mostly brown) and
would be wide enough to cover the label that was on the chest. Google is a great place to start looking for ideas. In this case I chose a turtle.
 |
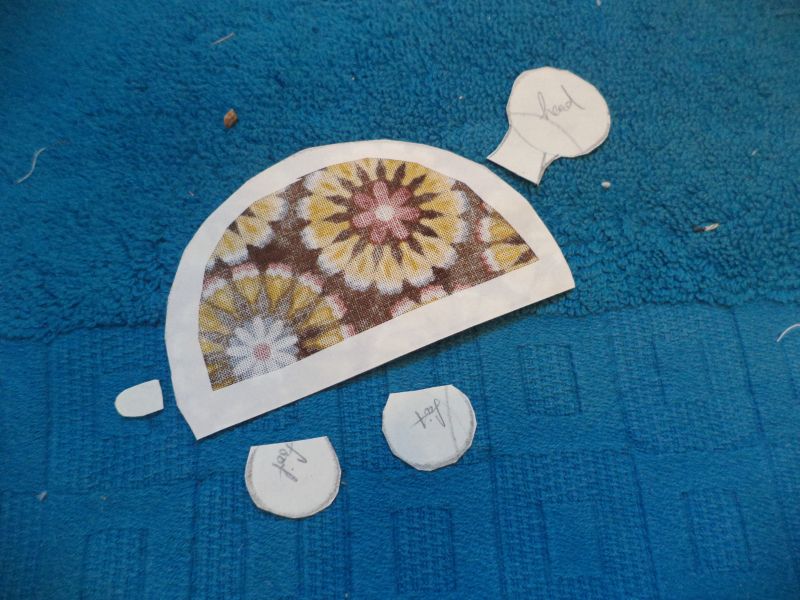
| Design components sketched onto iron-on |
Sketch the components of your design onto the paper side of lite iron-on adhesive. No need to erase stray lines as the paper ends up getting thrown away anyway. For my turtle I needed a shell, head, 2 legs, and a tail. I used a compass (like from geometry) to get the curves for my pieces. I've noticed that almost anything looks more baby-ish if you exaggerate the roundness of it. Bear in mind that if your design is directional it will end up reversed from your sketch.
 |
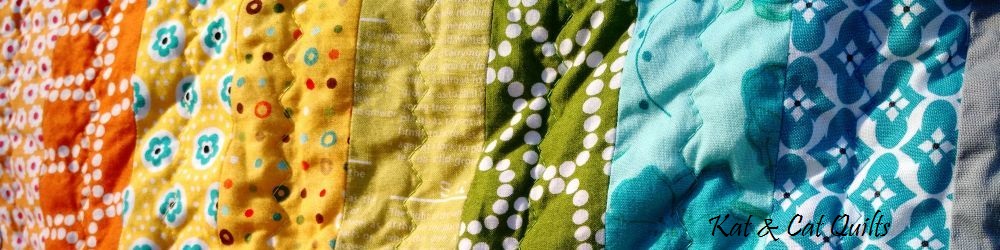
| Fabric selections from scraps |
Cut out your pieces leaving about a 1/4" extra to the outside of the lines. For the large enough pieces, also cut out the inside about a 1/4" from the line. This cuts down on stiffness and weight in the final design. For pieces that are all going to be in the same fabric (like my head, legs, and tail) there is no need to cut the individual pieces apart. Next, dig into your scraps and find the perfect colors :)
 |
| Apply iron-on to wrong side of fabric |
Following the package directions, iron the adhesive onto the wrong side of your fabrics. Trim around the individual pieces. This is why we didn't trim all the way down to the lines earlier, so now we can get a nice clean line with the adhesive going all the way to the edge.
 |
| Trim the individual components |
Layout the components (mine are upside down above) and play with their placement until you are satisfied with the design.
 |
| Peel the papers away and iron the components in place |
Peel away the backing papers and place the fabrics onto the onesie, overlapping slightly where necessary. Then, iron them in place according to the package directions of your adhesive.
 |
| Blanket stitch in a coordinating color to make everything secure |
Finally, since babies can deal out a lot of abuse and baby clothes generally
don't get washed on the 'gentle' cycle, I use my machine to blanket stitch everything in place with coordinating thread colors. This is also a great time to add embellishments. Buttons are obviously a no-no, but ribbons can be a great addition.
 |
| All done, and much improved! |
Wash the onesie before you give it away to make sure nothing moves and, ta-dah! All done!


No comments:
Post a Comment